|
|
back to Myrtle Pavillions main |
 |
About designing the Myrtle Pavillions
|
 |
|
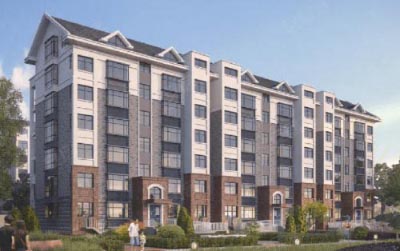
This is the image that the model design started with.
|
| |
|
|
The Myrtle Pavillions model originated in the same course about 3D-design that led to the Simple Cars videos and models.
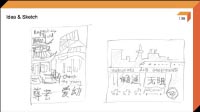
The students main project work on that course was to create a model of some kind of building which will feature on a poster about city life.
My idea was that at the end we would have all kinds of buildings, basically like a small city.
The Myrtle Pavillions model was supposed to be both a model example as well as a model that could be used as a background building for
the posters, with each the student’s self designed building in the front. This ultimately failed, because most students ended up doing
dioramas with much less detailed buildings. |
|
|
|
 |
|
 |
|
|
|
| My sketches for the task given to students. |
|
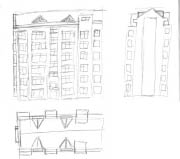
My initial hand-drawn 3-view. |
| |
|
|
|
| |
|
As a background model, I wanted to do a type of residential building and chose the 小区 xiǎo qū, a typical Chinese residential area or community
(see info page). I considered such communities I had lived in before, but had no good enough images.
So I looked for blueprints and photos online and the one I picked was the one I later identified as being called “Myrtle pavilions”.
I first created a hand-drawn 3-view based on the image and then made a colour version in the vector software, which was used for the model’s
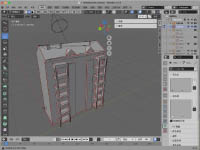
artwork and the title-pages in the end. These views were imported to Blender as references. The 3D-model was easy to create. As I only had the one
image, I imagined how the other side, which I called the garden side, must look like. Then later I thought, what if I could find more images
of this particular building and I made an online image search, through which I found the name of the buildings, 紫薇阁山庄 zǐ wēi gé shān zhuāng
or Myrtle Pavillion Villas. With the name, I could then do another search and found more images of these buildings, particularly the garden side. I re-adjusted the model and finished the first wing.
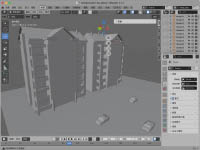
To have the whole block as seen in the initial photo, the wing was mirrored and a middle section was created. I also created a freestanding
version.
Creating the artwork was fairly easy, as I already had the coloured 3-view and all building parts were basically modular.
|
| |
 |
|
 |
|
|
|
| The first model, this still has a garden side imagined by me. |
|
The new garden side, based on the original, included in a diorama type with the Simple Cars. |
| |
|
|
|
|
As students’ ideas would mostly not work with individual buildings,
we went from that to creating dioramas including several super-simple buildings and the simple cars.
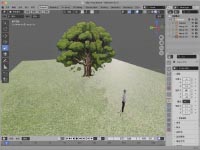
For this I needed to come up with a simple kind of tree. I created these trees as an optional accessory to the buildings.
My trees were inspired by simple trees from early 3D-games. |
| |
 |
|
 |
|
|
|
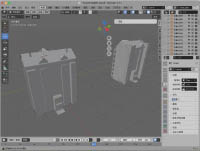
| Additional building versions, the freestanding one at the left, the middle building at the right. |
|
My test model to demonstrate to students how to create environment for dioramas, with what later became the trees. |
| |
|
|
|
|
The Myrtle Pavillions model was created directly to the final version without any test build, because the first version I built was already bascically the
final version which only saw some minor changes.
The only significant change was that I changed the small railings to be cut by the builder rather than giving pre-designed railings
for each position. This was because the original parts ended up to be useless, because they were too narrow in places where the build
was not accurate enough.
After the end of the course other things felt more important to me, so it was over one year until I finally finished up and published the model.
|
| |
 |
|
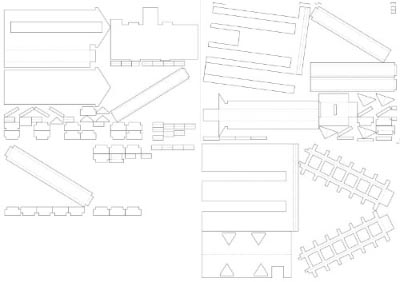
The base (earth) part of the myrtle-pavillions finished in Sketchup.
|
| |
|
| |
| return to top |
| |