Stahlhart papercraft
 
home
models
design
help
about us
contact
 
 
materials   propellers   canopies   formers


Creating clear canopies


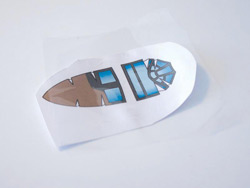
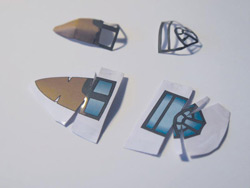
Cockpit kits are available for all my aircraft models. But how to create transparent canopies for them, that actually look good, without too much difficulty involving smelting, shaping and whatever. Here is a brief instruction on how I create clear canopies with transparent foil.
Choosing the right foil is very important: It should be see-through enough, easy enought to bend yet strong enough to stay stiff where it matters. It should not rip too easy but also not be too thick. I suggest testing a number of foils. Often foils around packaging from whatever products will work really well.

click on the images to enlarge (instructions included on large images)

 
Step 1   Print the canopy parts two (or more, then you have backup) times. For one leave about 1cm space around empty. Then glue the transparent foil flatly on the top outside (!) the parts. Let this dry.
     
Step 2   Next, you build a second canopy and cut out all the glass surfaces (see background). On the parts with transparent foil on top, cut crevices in the areas where the canopy is glued on itself, leaving a border up the place where it was glued.
     
Step 3  

Shape the canopy part and glue it together from the backside using tape glue. Be sure to get the crevices edge and edge so none of the tape glue touches the transparent foil on the front.

     
Step 4  

Then glue the cut out canopy on the top of the transparent foil of that just created shape.

     
Step 5  

Finally you cut away the white borders carefully along the cut-out canopy (see dashed line in the picture). Once this is done, the lower canopy part should come off, while the transparency is glued in shape onto the cut-out canopy.

 
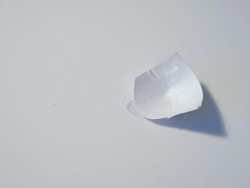
To see the result of this very canopy, check the Gladiator gallery
 
return to top